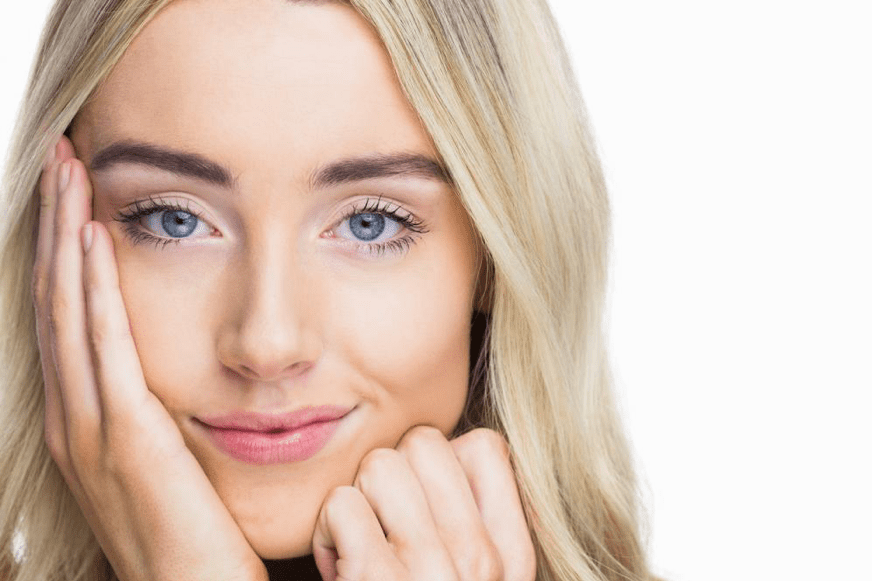
Congratulations! If you’ve finally got your ideal pair of arches, you are now a part of those millions of women, including the likes of Queen Cleopatra, who are ready to take initiatives to transform into a well-groomed and more beautiful version of themselves. Microblading is an innovative technique that employs a super-fine pen-like device with microblades that are used to draw hair-like strokes and deposit pigment in them to create the illusion of perfectly shaped eyebrows. Not only does this method saves you from filling-in and shaping your brows every morning but they also make you feel gorgeous!
“No pain, no gain” is a famous mantra that applies to microblading. The microblading experience is based on pigment application and the healing process that follows. People often ace the application process as the procedure itself is relatively painless, but the healing process might be challenging for someone who is clueless about what to expect. Knowing what to expect can make the whole journey smooth and comfortable. To save our lovely readers and clients from all the confusion, this article provides them the proper know-how about the healing process after the microblading.
Here’s a day-to-day guide for the 30-day healing process after you’ve got microblading done:
Day 1
Wo-ho! It’s the big day! You’ve finally taken that leap of faith and are walking out of your permanent makeup artist’s salon with fuller, fresher, and swoon-worthy eyebrows. This is bound to make you feel excited and overwhelmed. The fine strokes resemble the perfect hair and the bald patches that you hated are no more in sight. You are dying to let the compliments pour in and you’re trying to imagine the look on your “so-called well-wisher” who had pointed out how thin your eyebrows were. They do appear a bit red, tender, and puffy. Some ladies may also experience slight bleeding but the overall effect is great.
The color on day 1 is the darkest and might be some shades darker than you actually wanted them to be. Don’t worry! The color will fade a bit with the healing process and you’ll see a 20-40% reduction in how dark the pigment appears.
Day 2
The following day, the area surrounding your eyebrows might seem a little sore and tender. The inflammation persists, even though there’s a reduction in redness for some people at this point. The fine strokes are now fine wounds that make the eyebrows appear even darker than day one. This might make you tensed but don’t panic; this is completely normal. The only reason people can’t take their eyes off you is that you’re rocking those brows!
Days 3-4
A couple of days have passed and there’s no major change in how your eyebrows look. The redness and puffiness seem to be subsiding and the brows are thick and dark with the same texture. Now is the time when you’ll actually start living with your ever-lasting, glammed up eyebrows. The eyebrow pencils, brushes, and spoolie are out of sight and out of mind. You are waking up with straight-out-of-the-salon brows and realizing how much time you wasted on doing your brows each day.
You might be missing swimming or going to the gym but you’ll have to stop yourself for at least 6 to 7 more days before you enjoy your water-proof beauties. Make sure you are following the aftercare guidelines explained by the makeup artist.
Days 5
Now that you’ve admired your brows for four days, day 5 is when the “healing” part actually begins. If you were thinking that the redness and swelling were the only side-effects, you might have to rethink now. You’ll feel an urge to itch the brows but it is crucial that you do not scratch or rub them as the wound is still fresh. On day 5, scabbing will begin. A layer of scabbing will coat the fine strokes to heal them from within. Anyone who wouldn’t know about this stage might run to the doctor or contemplate suing the makeup artist. Don’t worry; it’s all-natural and temporary. The patience you practice now will make your brows turn out absolutely gorgeous!
Day 6-7
You know what follows is not going to be fancy. The scabbing will become severe and you’ll see your skin peel off. Trust us when we say that you are not going to end up being an ‘eyebrow less monster.’ The skin peel indicates that your wounds are healing. Don’t pick or peel the scabs as this can make matters worse and may hinder the healing process. Picking a scab would result in your brows losing the pigments that have been deposited on them. And, you don’t want patchy brows, do you?
Continue to gently rinse the brow region and the scabs will continue to fall off. All through this phase, just remember the birth of a butterfly. The icky larva transforms into a beautiful vibrant butterfly. Scabbing and peeling off of skin is essential for the transformation. Once your brows are healed completely, you might not even remember this phase.
Days 8-10
The worst is over now and most of the scabs would have flaked off by this phase. The skin is on the healing path and the pigments may seem to have lost their dark, bold color. You will observe scars when you look into the mirror and this might scare you that the pigments didn’t stick to your skin. Don’t think that all that money and patience was spent in vain. That’s certainly not the case! The gray or patchy spots should not bother you. It might remind you of the time you used to fill them with eyebrow products. Just take a deep breath and remind yourself that all good things come to those you are patient.
Days 14-21
More than two weeks have passed after your microblading appointment and right when you were starting to wonder “was it worth it?,” the results start showing and the skin starts to heal completely. By this time you’ll be happily surprised to observe more uniform-looking eyebrows with the same even strokes and natural-looking color that you wished for. Here’s your answer: Yes, it was worth it! People will start noticing the amazing results and you’ll be at the receiving end of compliments. During this stage, any signs of a cosmetic tattoo will start vanishing and you’ll come out of the self-conscious zone.
Day 30
One glorious month of healing and patience! The healing process is finally complete and you should be proud of yourself for bringing this positive change in your personality. The eyebrows look fantastic with a soft texture, spot-on color, perfect shape, and no areas to fill in. If you feel the pigment isn’t exactly as dark as you wanted, you shouldn’t get worried, as your follow-up appointment is already scheduled and that’s the whole point of it.
It is advised that if your skin isn’t fully healed or in need of more time, do not schedule a follow-up visit yet. It is best to wait for 2-3 months.
The Last Word
With proper care, the brows will heal quickly and the results will last longer. After the healing process, you won’t just get a set of brows that you can flaunt on Instagram but you will also learn to be more patient and hopeful!